📦 Cardboard Design: Test, Improve, Connect
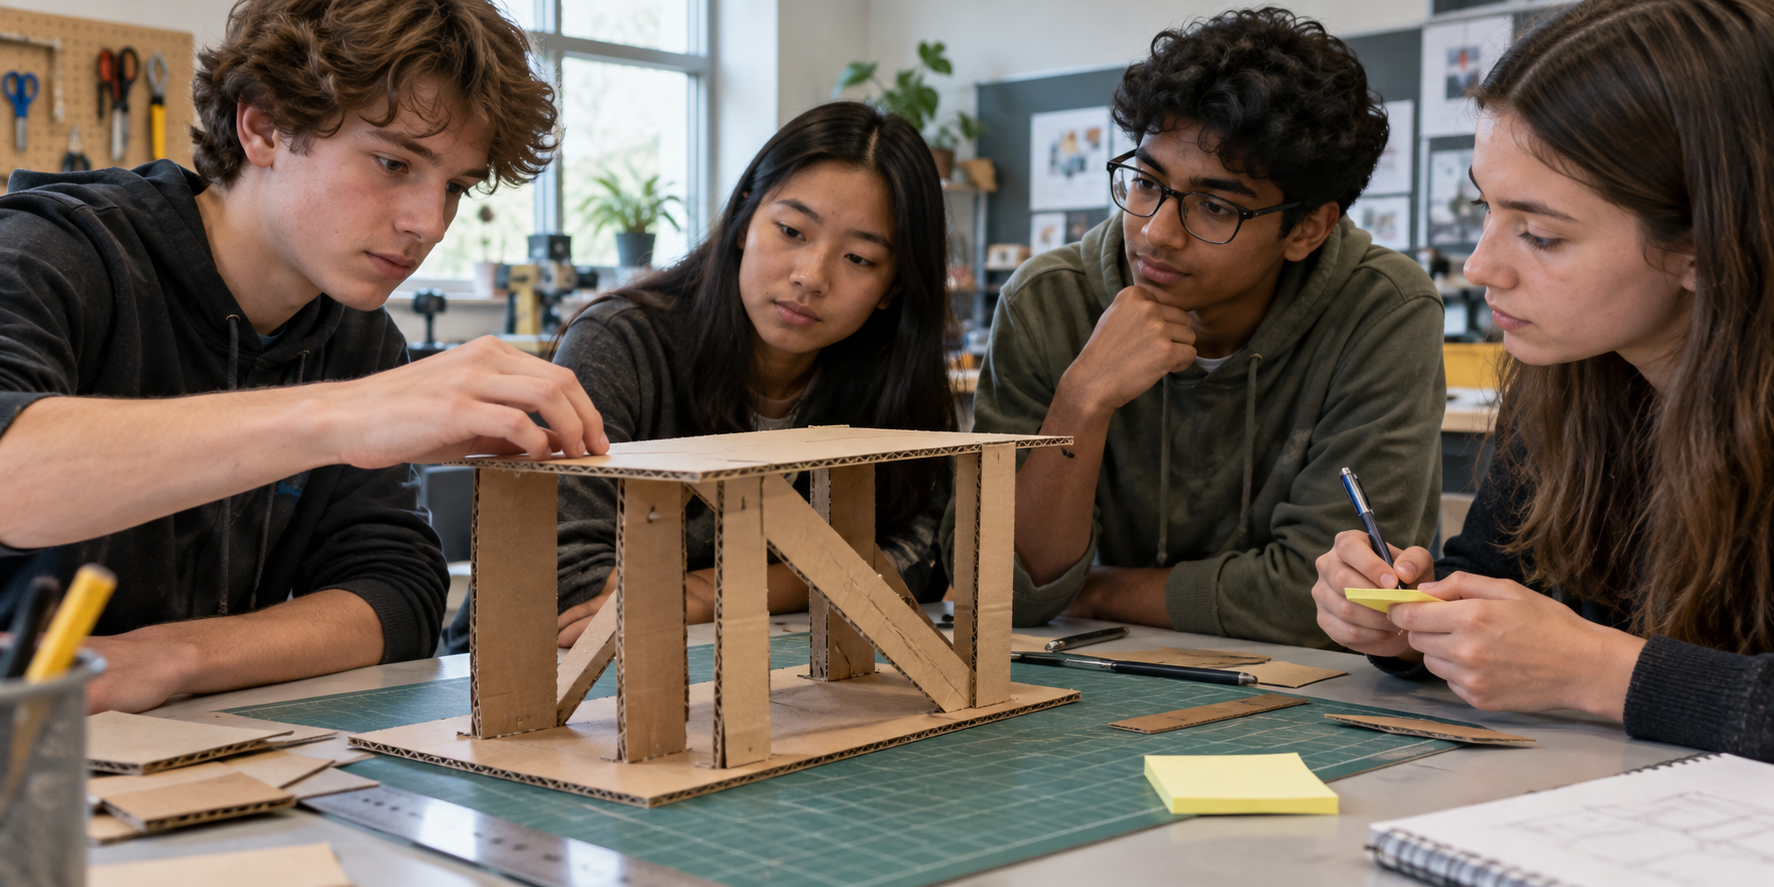
Today we will take the object you made in the Cardboard Design Challenge and move it through another round of the design process.
🎯 Learning Goal
Use testing and peer feedback to make a purposeful improvement, then imagine how your idea could become a real product for a real user.
🧭 Today's Design Journey
🔍 Test → 💬 Feedback → ✏️ Plan → 🛠️ Improve → 🌍 Translate
🔍 1. Test Your Design
Place your object on the table and look at it as a designer, not just as its maker.
| Look for… | Ask yourself… |
|---|---|
| 🏗️ Stability | Does it stand securely? |
| 💪 Strength | Which joints or parts are strongest? Which are weakest? |
| 💡 Clarity | Is its purpose or idea clear to someone else? |
| ✨ Opportunity | Could it be more useful, durable, comfortable, safe, or visually effective? |
Record one strength and one area that could be improved before receiving feedback.
👐 Test With Care
Handle every project carefully. Ask permission before touching or testing any moving or fragile part.
💬 2. Peer Feedback: TAG + Test
Exchange projects with a partner. Observe the design, test it carefully, and give feedback using TAG.
| TAG | What to do | Helpful sentence starter |
|---|---|---|
| 💚 Tell | Identify one thing that works well and explain why. | “One part that works well is… because…” |
| 💙 Ask | Ask about the user, purpose, material, or construction. | “How might this change if…?” |
| 🧡 Give | Suggest one specific real-world improvement. | “You could improve… by… because…” |
✅ Make Feedback Useful
Connect every suggestion to a reason. Instead of “make it stronger,” try: “The tall section leans when the base is touched; widening the base could make it more stable.”
The designer records the feedback but remains responsible for deciding what to change.
✏️ 3. Choose Your Iteration
Review your own test and your partner’s feedback. Choose one meaningful improvement—not just a decorative change.
🧠 My Iteration Decision
I will change ____________________
because ____________________.
I will know the change worked if ____________________.
Before building:
- ✏️ Sketch the change
- 📏 Add or update measurements
- 🧩 Identify the pieces you need
- 🧪 Decide how you will test whether it worked
🛠️ 4. Improve and Retest
Revise your object or build a small prototype of the improved part. Then repeat the same test you used earlier so you can make a fair comparison.
🔁 Evidence of Iteration
A successful iteration does not have to be perfect. It must show that you tested an idea, learned something, and made a reasoned change.
Record what changed between Version 1 and Version 2.
🌍 5. Translate It to the Real World
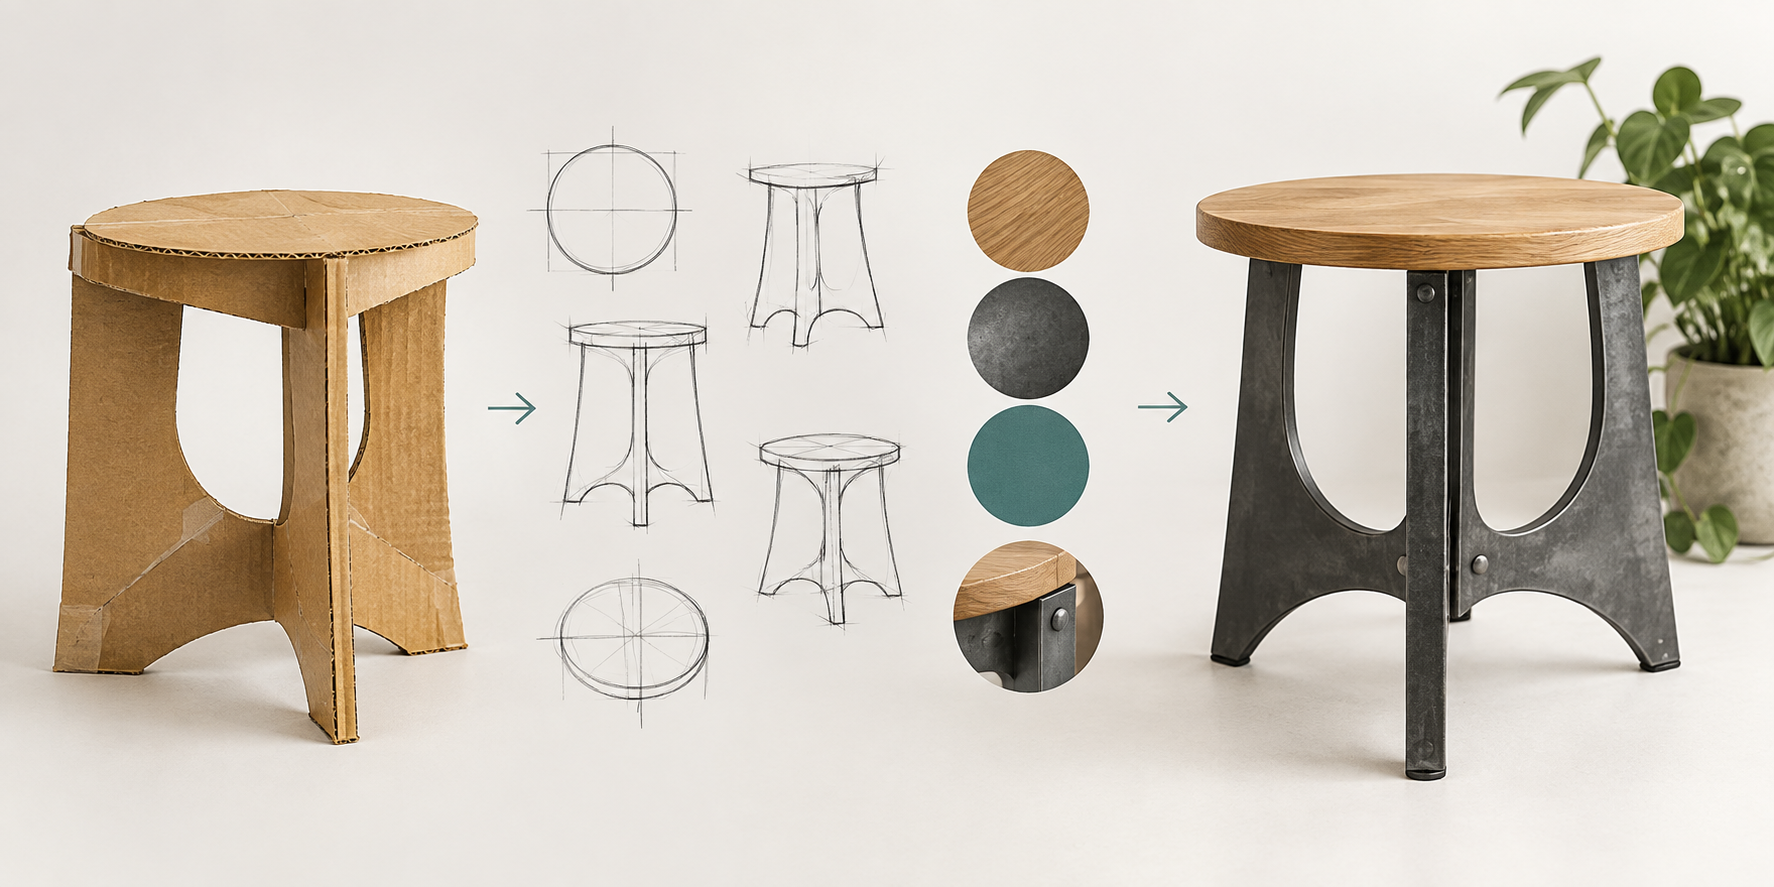
Your cardboard object is a prototype. Imagine that a real version will be produced and used outside the classroom.
| Design decision | What you need to decide |
|---|---|
| 👤 User | Who is it for? |
| 🎯 Purpose | What need, problem, or experience does it address? |
| 📍 Context | Where and how would it be used? |
| 🧱 Materials | What would the real version be made from, and why? |
| 📐 Scale | Would it be larger, smaller, or the same size? |
| 🏭 Production | How might it be manufactured and assembled? |
⚖️ Real-World Constraints
A professional designer must balance cost, safety, durability, accessibility, sustainability, and the needs of the user.
Create a labelled sketch of the real-world version. Include at least three callouts explaining how and why it differs from the cardboard prototype.
📝 6. Daily Notion Entry
Document today’s design thinking in your Daily Notion entry.
Include this evidence
- 📸 A photo of the original prototype
- 💬 The feedback you gave and received
- ✏️ Your iteration statement and revised sketch
- 🛠️ A photo or description of the change you made
- 🧪 The result of your second test
- 🌍 Your labelled real-world concept
💭 Reflection
Which constraint would have the biggest effect on producing your idea in the real world, and why?
✅ Before Our Next Class
- Finish and test one purposeful iteration.
- Complete your labelled real-world concept.
- Complete today’s Notion entry with evidence of your process.